St. Patrick’s day is a mere two days away! You have probably noticed the shelves lined with Green, prepared for a day of debauchery, made plans for the Lower Greenville Parade (if you are a Dallas Resident), or maybe you just don’t care!
No matter how you feel about St. Patrick’s Day, this is a recipe that you can enjoy. If you are pro St. Patrick’s day use the green food coloring. If you are anti this Irish holiday you can omit that and you will get a white cupcake with just tiny green flakes.
T & M are allegedly a small percent Irish, so we MUST celebrate since it’s in our blood. What this likely means is that T will celebrate and M will pretend this holiday doesn’t exist.
As a parent, St. Patrick’s day is an interesting holiday because it covers two pretty big extremes. You have the children’s version involving leprechauns, pots of gold, and lucky charms and then you very quickly jump to the green beer shenanigans. There really isn’t much in between.
On the kids side, T remembers her mom taking them in the car to chase the pot of gold at the end of the rainbow. There wasn’t always a rainbow on St. Patrick’s day but we would go anytime we saw one. The kids would yell at her to “TURN RIGHT HERE!” “No! It’s getting away from us go faster!” Unfortunately, we never found that pot of gold, but there is always tomorrow.
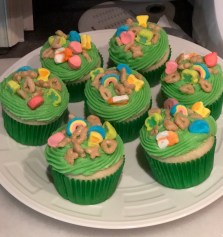
On the adult side, green beer is disgusting. SO replace that with some delicious green key lime cupcakes that you can share with the whole family! We also added some lucky charms on top to really get in the spirit. Do you have any St. Patrick’s day traditions for the whole family you can share with us?
Key Lime Cupcakes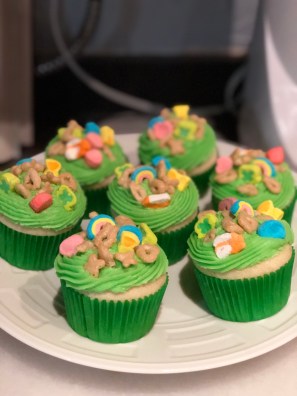
- 4 1/2 C. Cake Flour
- 2 Tbsp. Baking Powder
- 3/4 tsp. Salt
- 1 1/2 C Milk
- 1 Tbsp. Vanilla Extract
- 1 C + 2 Tbsp. Unsalted Butter, Softened
- 2 1/4 C. Sugar
- 7 Large Egg Whites
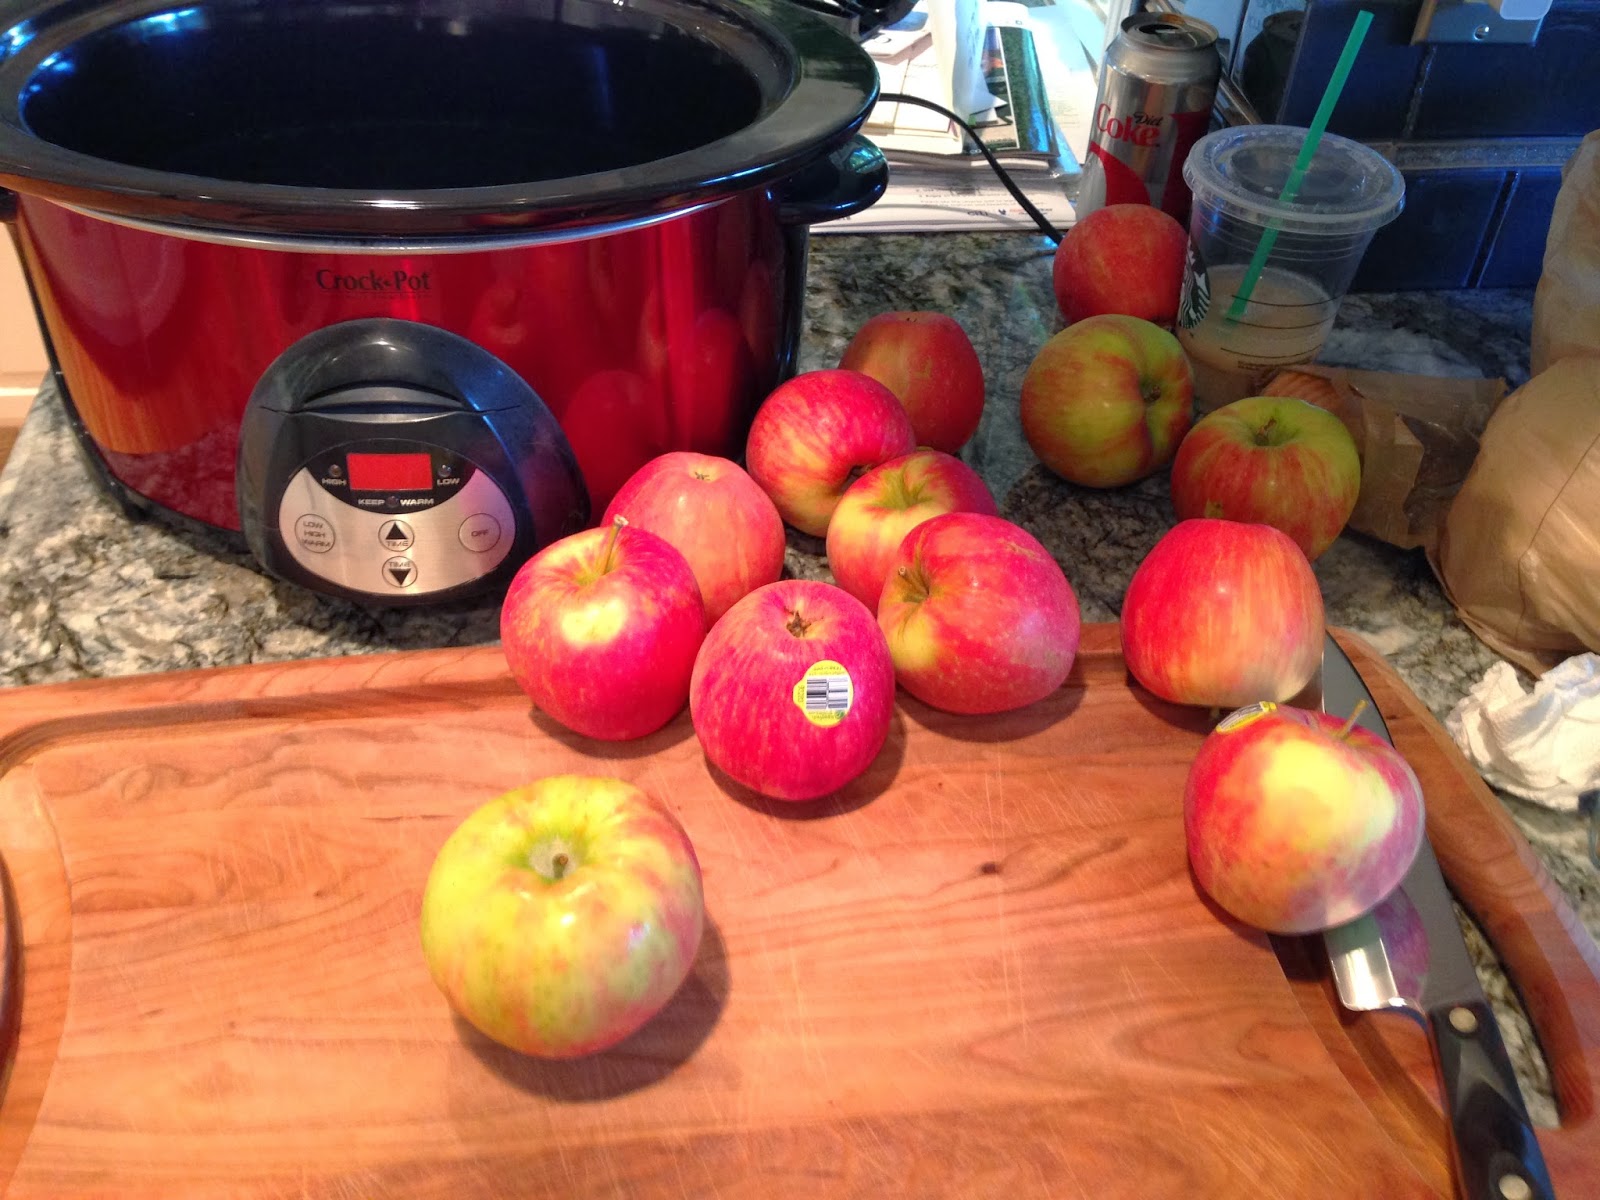
- 5 Limes or 9 Key Limes
For the buttercream
- 2 sticks Unsalted Butter, softened
- 1 Bag Powdered Sugar
- 1/2 Tbsp. Vanilla
- 2 Limes
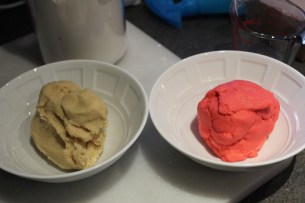
Optional: green food coloring, lucky charms!
This recipe took about an hour to complete including icing and made 24 cupcakes.
Step 1: Preheat your oven to 350 degrees and line your baking tins with the muffin cups.
Step 2: In a medium bowl whisk together the Cake Flour, Baking Powder, and Salt. In a separate bowl or measuring cup combine the Milk and Vanilla.
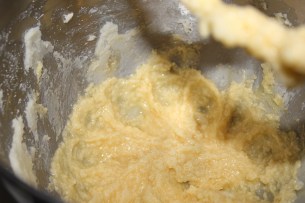
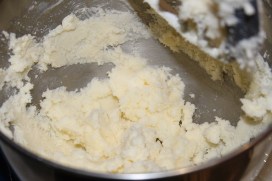
Step 3: Drop the butter into your mixer bowl. Beat on a high speed until the butter is creamy. Then slowly add in the sugar and continue to beat until the butter and sugar is combined and looks light and fluffy!

Step 4: During this next step you are going to add your wet and dry ingredients one after the other. First add 1/3 of your flour mixture, then 1/2 of your milk mixture, 1/3 of your flour, 1/2 of your milk, and the last 1/3 of flour. Be sure to fully combine the ingredients into the batter before adding the next amount.
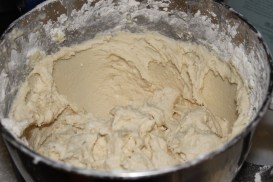
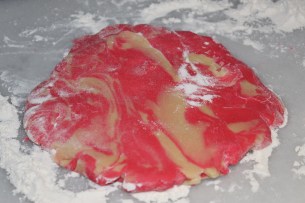
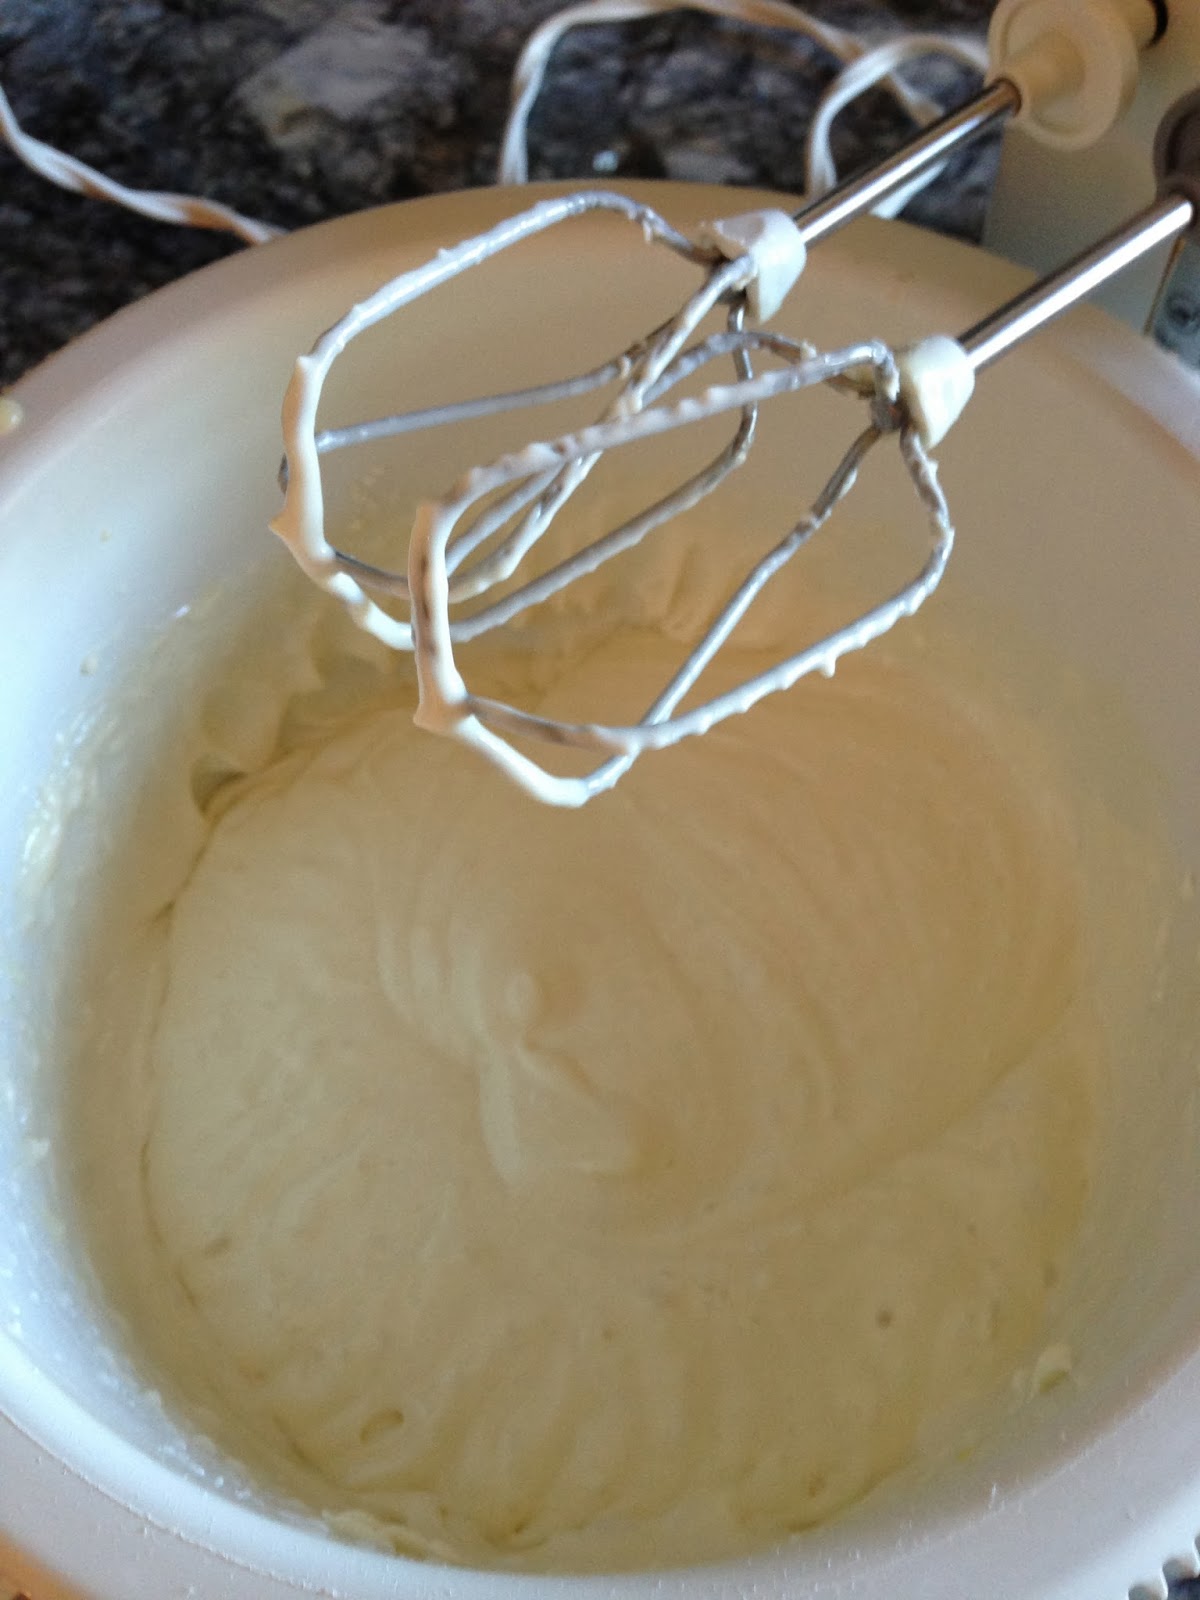
Step 5: Zest three of your limes and drop the zest into your batter. Cut all 5 limes in half and squeeze the juice into your batter. Beat until combined. Remove this bowl from the mixer stand. (If you want your cupcakes to be green add green food coloring during this stage. The more drops you add the darker it will get).


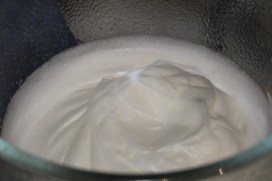
Step 6: Drop your 7 egg whites into a clean bowl. Using the whisk attachment for your mixer beat the egg whites until they are light and fluffy. If you stick a toothpick in and pull it out a stiff peak should form. If so you know you are done. You will then gently FOLD these egg whites into your batter. To fold egg whites into the batter you don’t stir. You use your spatula to pull the batter from the bottom and flip it over the batter on top. Continue doing this until the egg whites are fully combined with the batter.

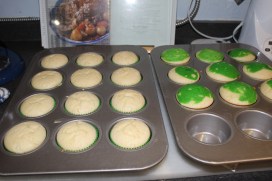
Step 7: pour batter into cups and fill about 3/4 of the way. Then bake in the oven for approximately 20 minutes. You can tell they are done when the rims are golden brown and there is no jiggling in the center of the cupcake. Take out and let cool completely.

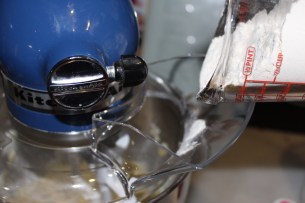
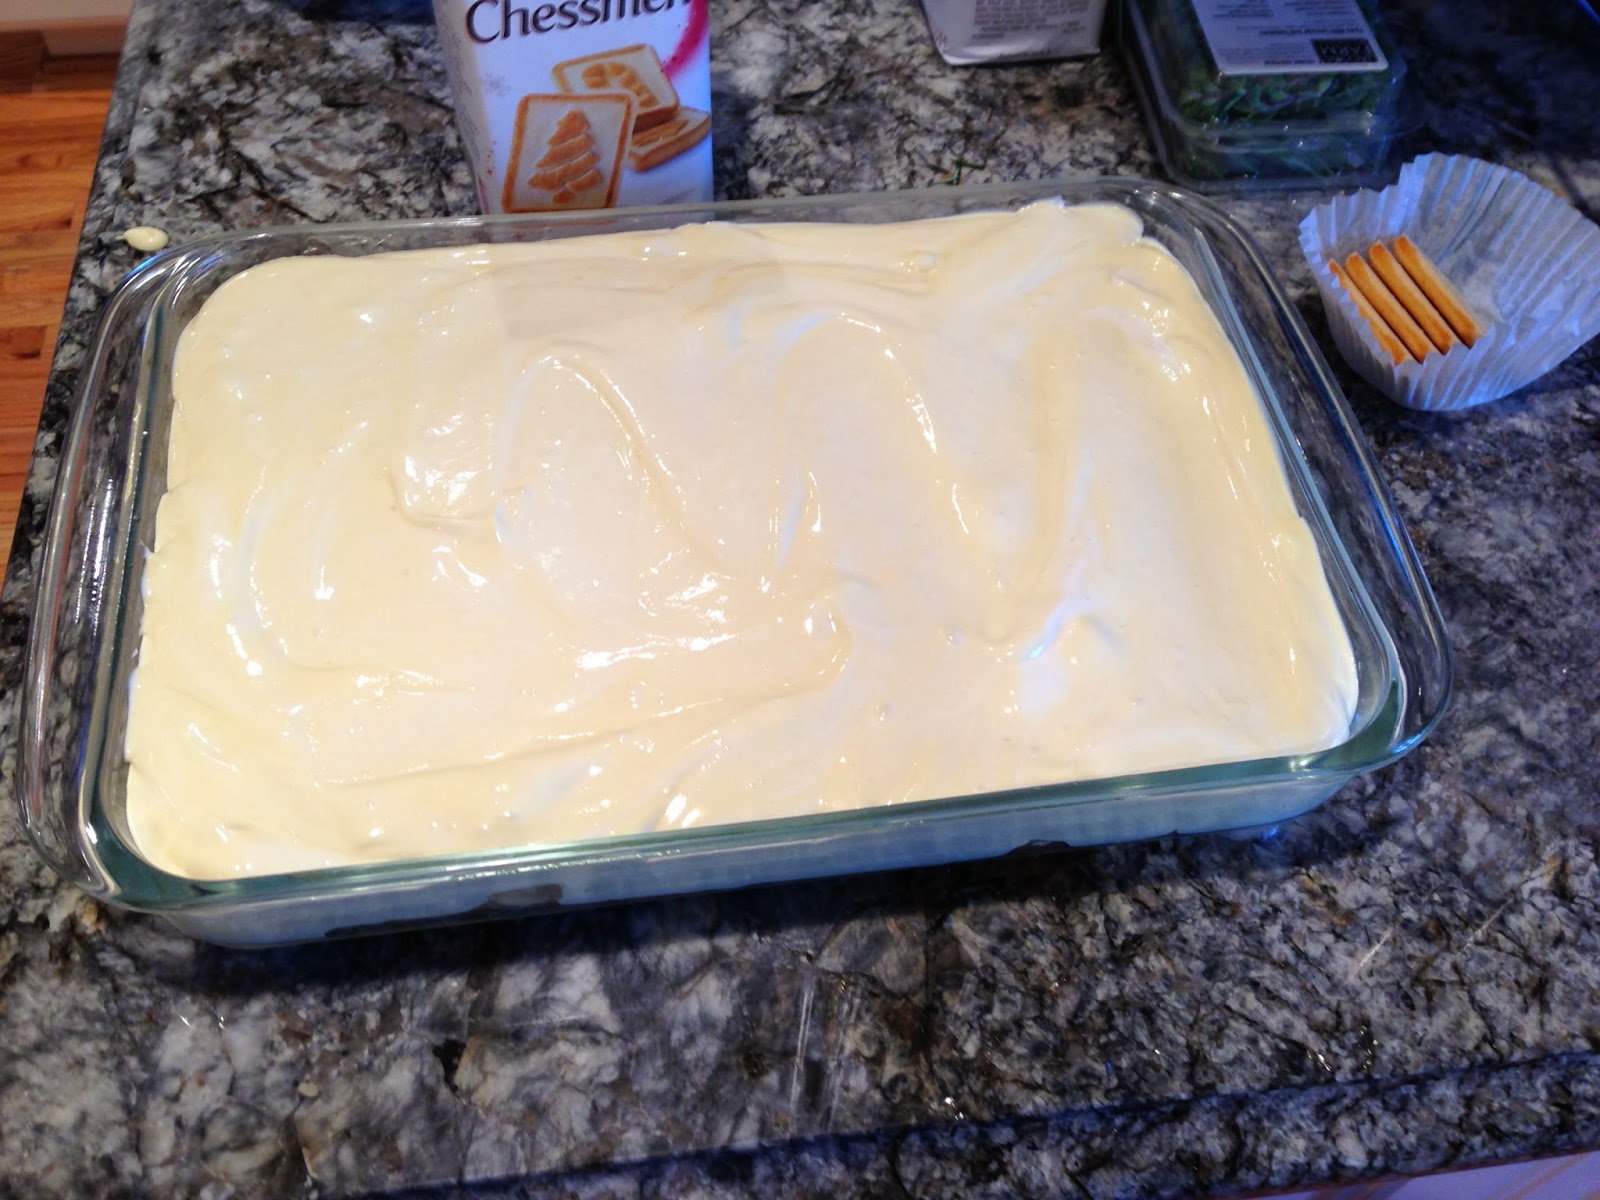
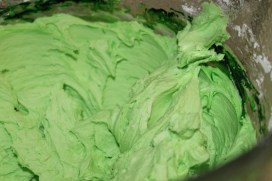
Step 8: While your cupcakes are baking you can make your buttercream. Add the two sticks of butter to the mixer and beat until creamy. Add about half of the powdered sugar along with the vanilla and juice from two limes. Beat until combined. Continue adding powdered sugar until you reach your desired thickness. Ideally, you want a thick icing that is still easy enough to spread with a knife.
Step 9: Add food coloring if desired and beat until combined. When you are ready to go put the icing in a piping bag, a zip lock bag with the corner cut, or just leave to ice with a knife.
Step 10: After the cupcakes have COMPLETELY cooled you can ice them and add your lucky charms!

Voila!
Happy St. Patrick’s Day!
xoxo, T&M