
Growing up my mom painted a rain forest/jungle mural on our play room wall. I vividly remember what it looked like. I also remember being traumatized when it was painted over. When I found out I was pregnant that was one of the first things I knew I wanted. I wanted my mom to paint a new mural in the baby’s bedroom!
Throughout the duration of my pregnancy I referred to my unborn child as Baby Beluga…I may or may not still refer to him as that. I have a major love for all things whale. And his room now reflects that. He’ll probably grow up to hate whales, but I hope not! Anyway, my mom and I began discussing what I wanted. Definitely wanted an underwater scene. But did I want to see the waves and a boat on top? Did I want realistic looking fish or cartoon fish? What color blue? There were SO many decisions.
Before you get started it helps to have a pretty clear vision of what it is you are wanting. Do not start drawing or painting until you know. I decided I wanted it to be a little cartoony with lots of bright colors. So my mom got to work drawing the fish. There are several ways to do this. You can either 1) Freehand directly on the wall 2) you can freehand or trace your image on a smaller piece of paper and then use a projector to put it on the wall in the size you want. We did a mixture of both.
We google imaged different fishies and found ones we liked. We used a couple that reflected the characters in finding nemo, we found a couple we could trace that were just awesome looking. And then my mom found some that she then added features too. For instance, my husband is obsessed with all things University of Texas. So my mom found an awesome puffer fish but then added longhorns to it!


It’s one of my favorite parts of the mural. There are other fun hidden gems like the snorkeler’s shorts say Fordham my alma mater. She also found images for a submarine, treasure chest, message in a bottle and some other fun things.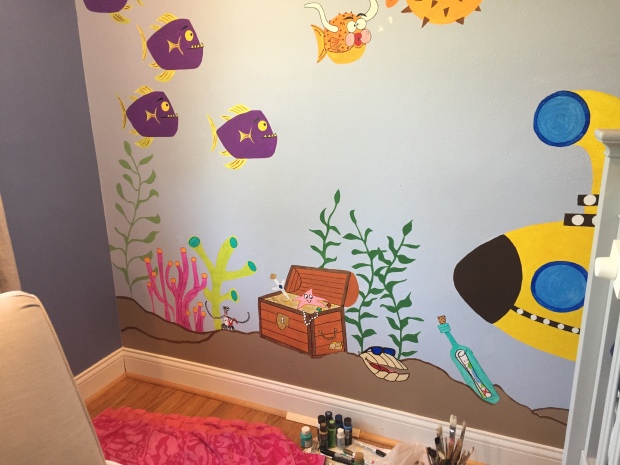
Once we had all of our images it was time to start getting them traced onto the wall. (Note: You should Ideally be starting with a white wall). TAKE YOUR TIME! Make sure you get the images the size you want and don’t be afraid to erase if it’s not what you want or the right size. All of those pencil markings can be covered up with paint. We started on one side and worked our way across
.

Once we had a few images on the wall we started playing with the paint. We used regular acrylic paint for the smaller images and then a Sherwin Williams wall paint for the ocean. We would do a small area to make sure the color was what we wanted and then filled in. Almost every color needed more than one coat. But you MUST let it dry all the way before adding the second layer. We also found that using sharpies to outline the images or pieces of the images was super helpful, and made the images stand out.
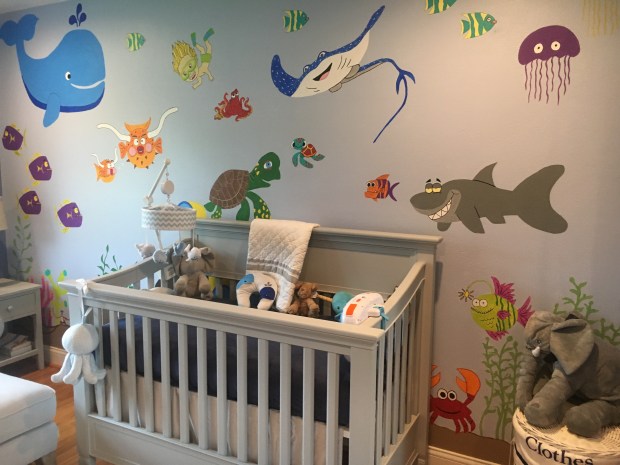
As I type this all out it seems like way more work than it actually was (not to downplay how much effort my mom put into it) But anyone can do this especially if you’re tracing! If anything it is really just time consuming. But it has made my son’s room SO fun and brings back memories of my own mural. I am SO SO SO happy we chose to do this for him too.
Good luck and happy painting!
P.S. if you did any fun painting projects in your playroom or nursery walls I would love to see them!
